LIFE DRAWING
|
I taught Life Drawing at the Vancouver Film School to Make Up Design students.
The goal was to have the students (many of whom had never done life drawing before) become familiar with basic anatomy of the human body, including proportions, structure, and movement. Special attention was paid to the head and all of its features. For the purpose of make up design it was important that the student learn the skull structure and how muscle and skin form the surface, and where the features are situated. |
|

|
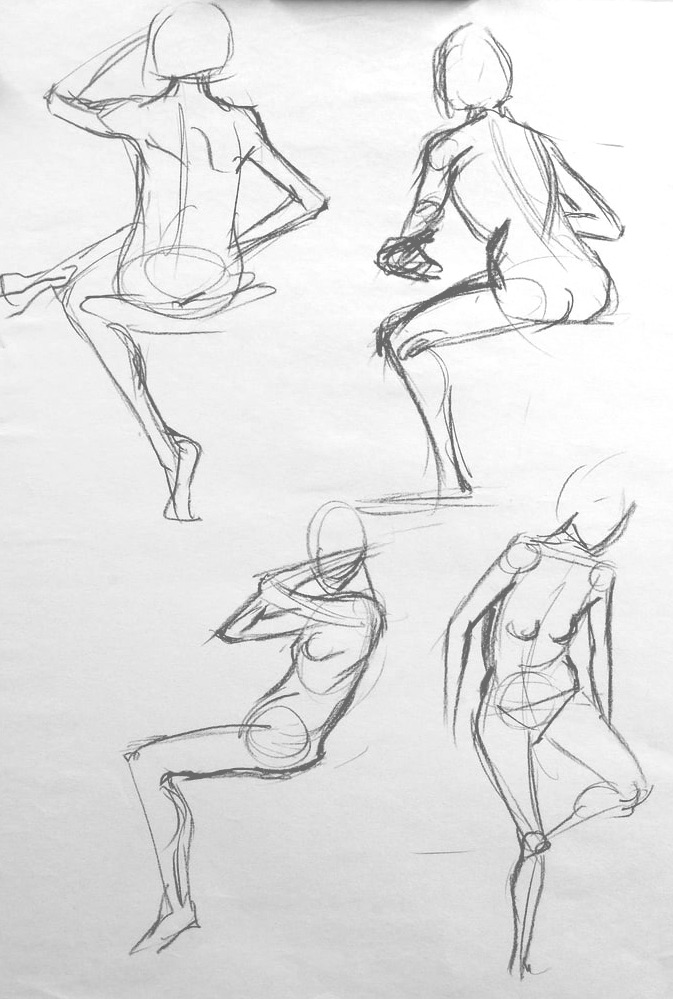
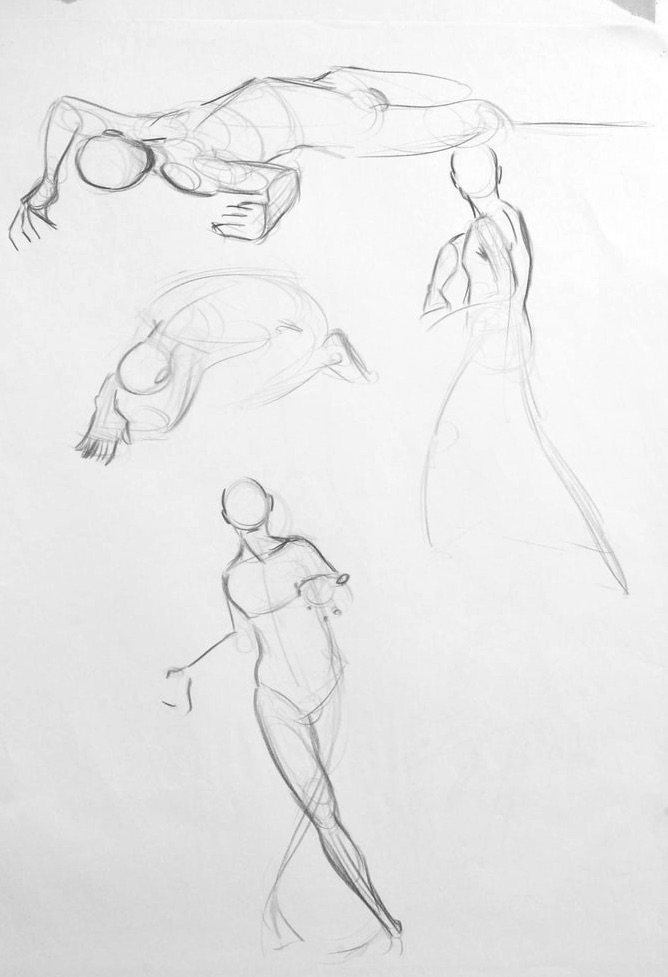
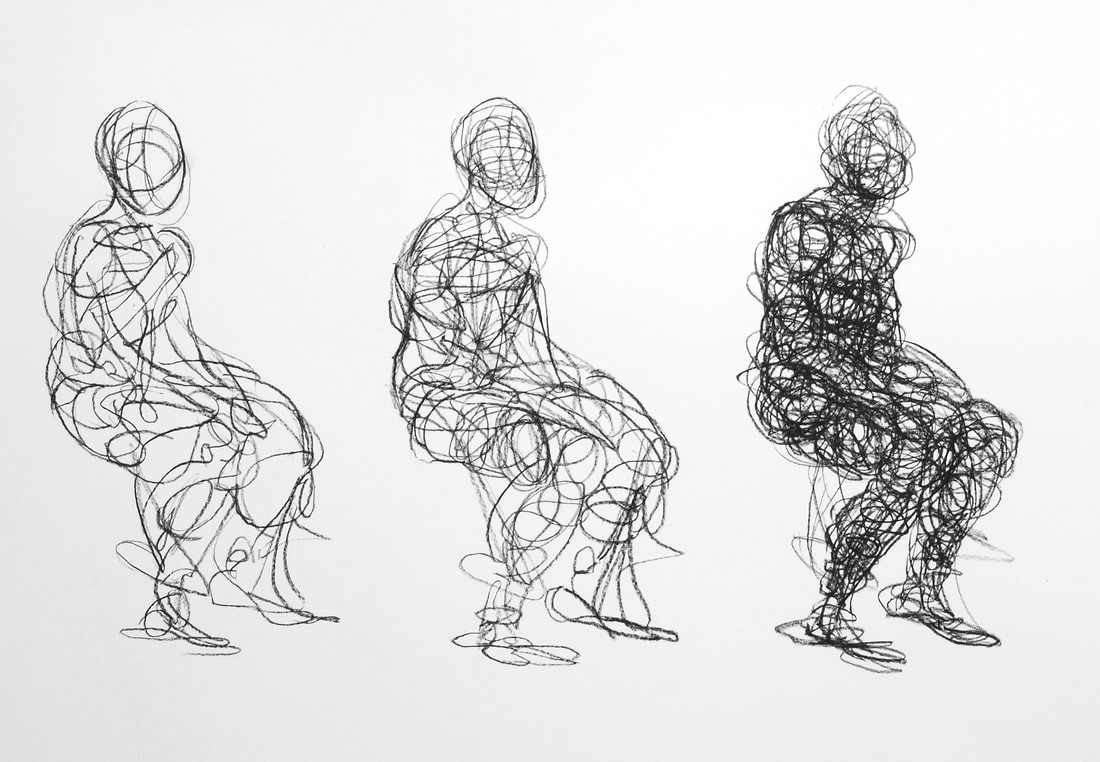
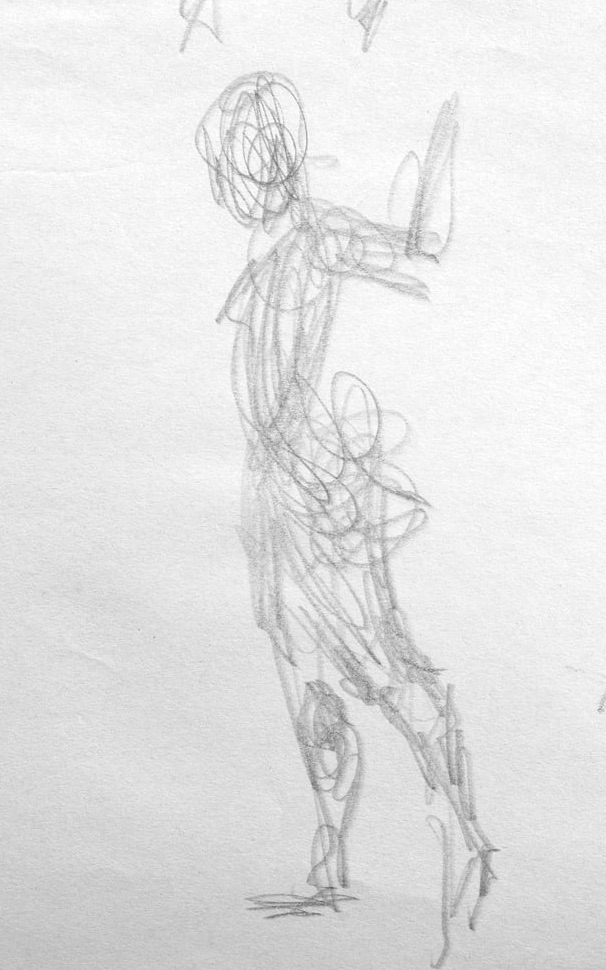
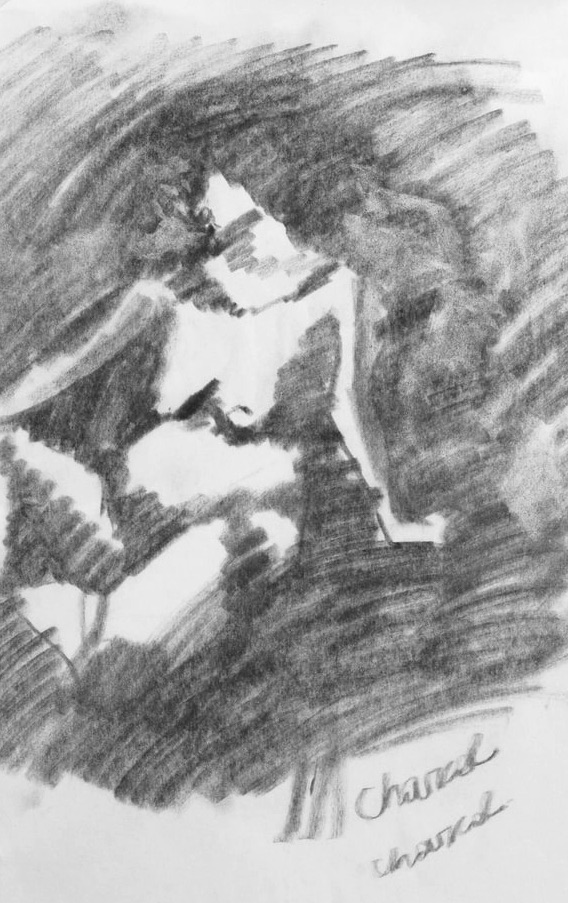
GESTURE DRAWING
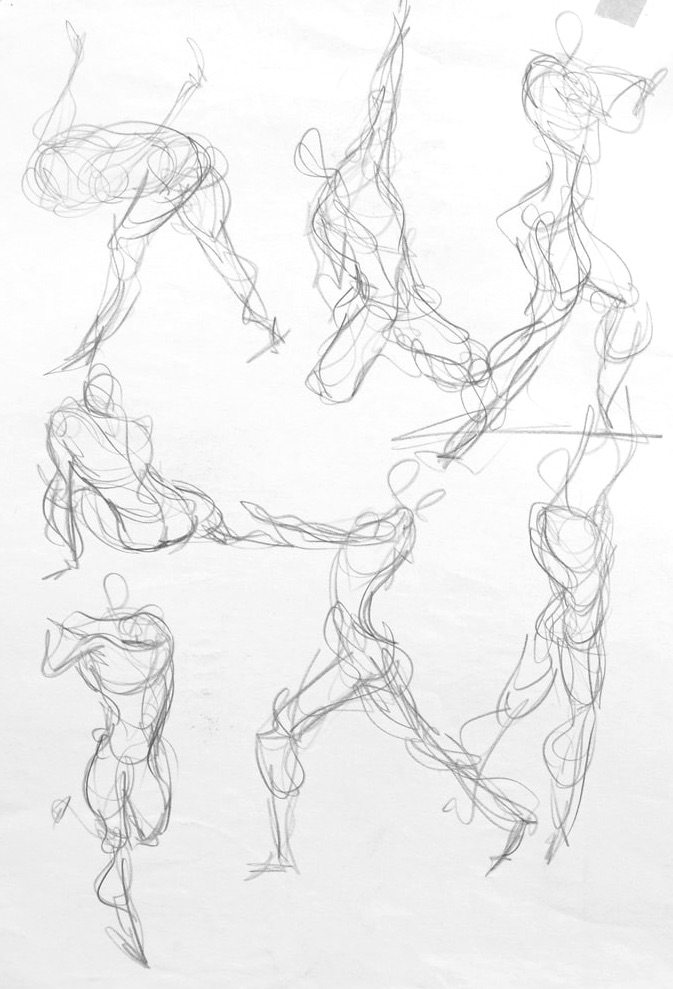
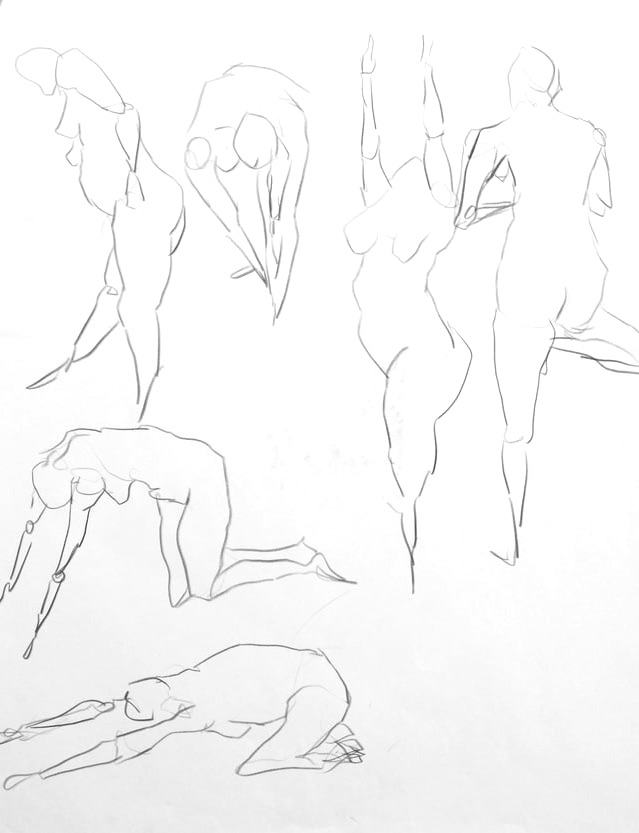
Student Work
Each class began with gesture drawings. This warm up lesson is a series of rapidly changing poses lasting anywhere from several seconds to several minutes. The purpose of these action drawings is to loosen up the artist, record quick impressions of the model, movement and proportions.

|
|

|
|
|
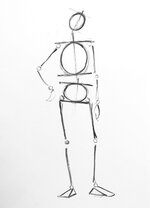
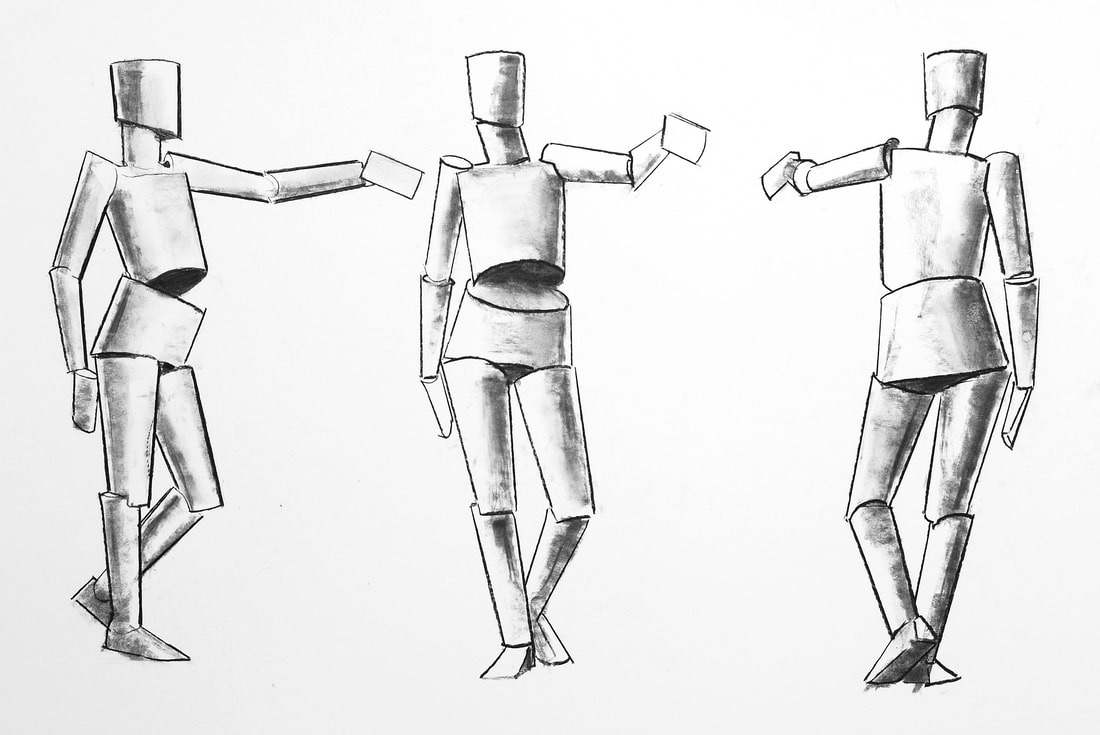
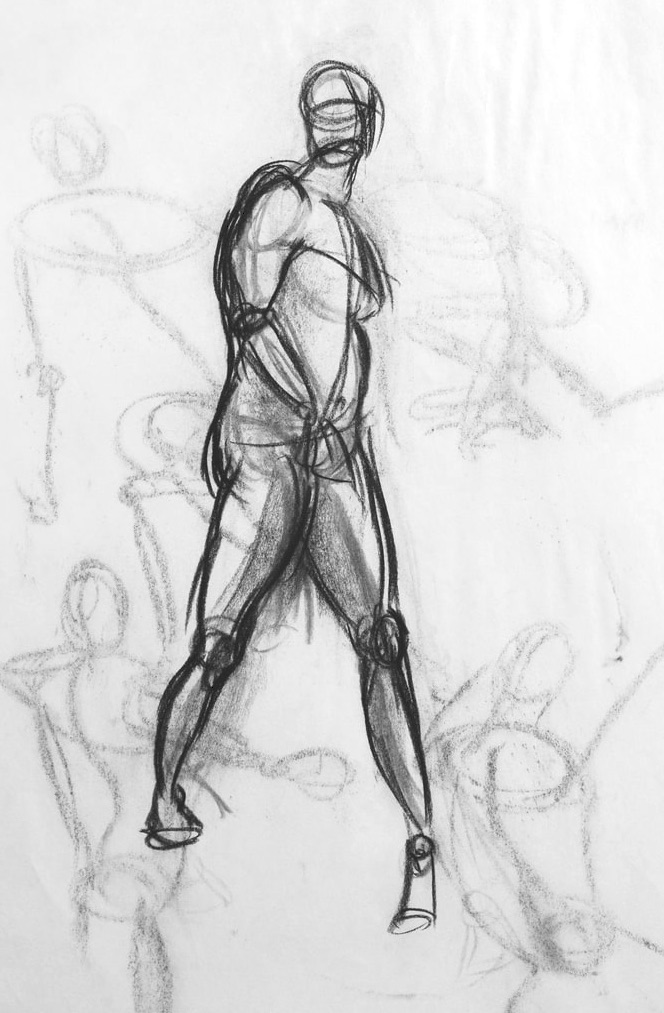
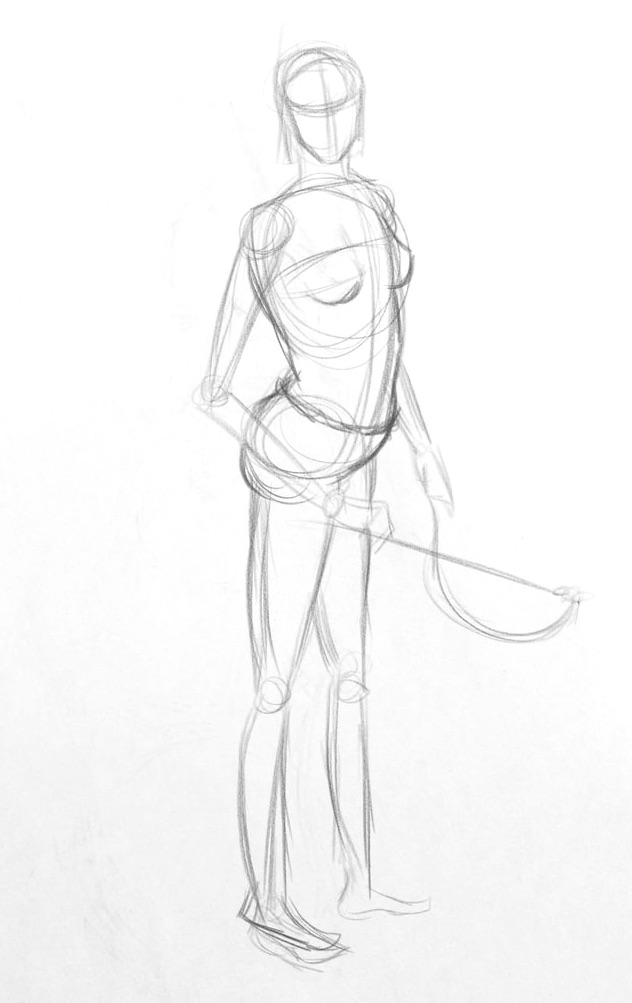
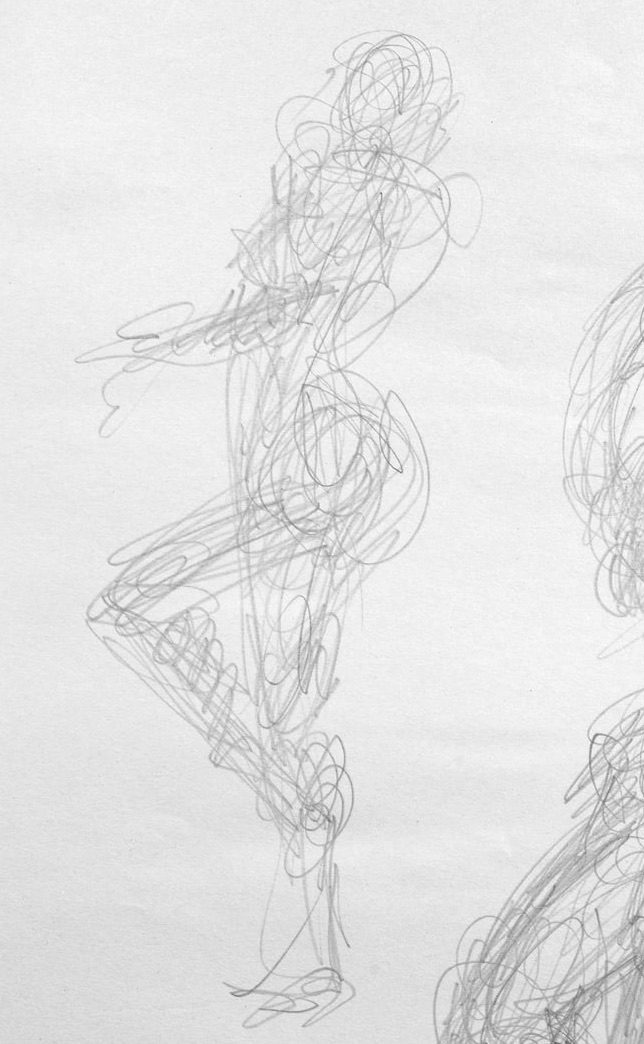
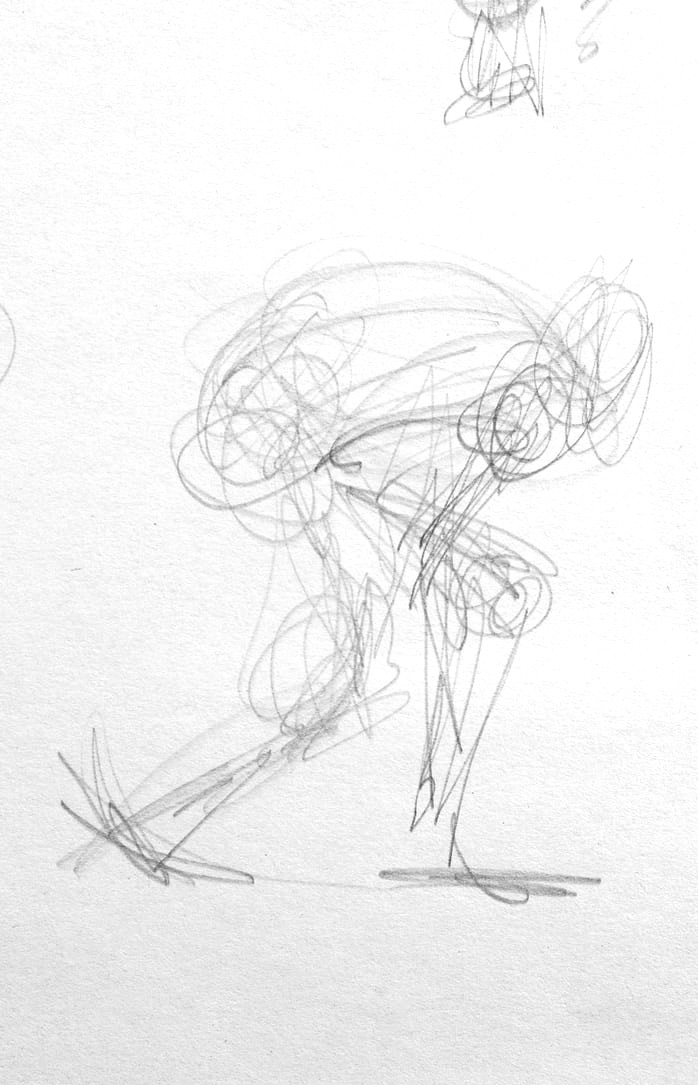
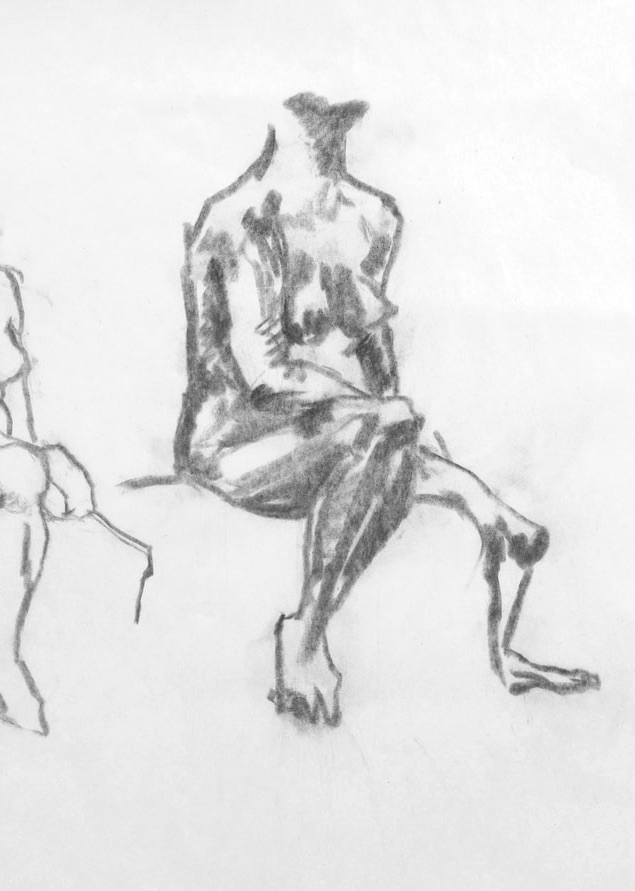
CONSTRUCTING A BODY
|

|
|
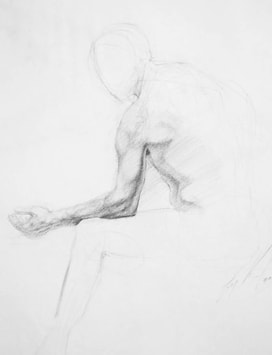
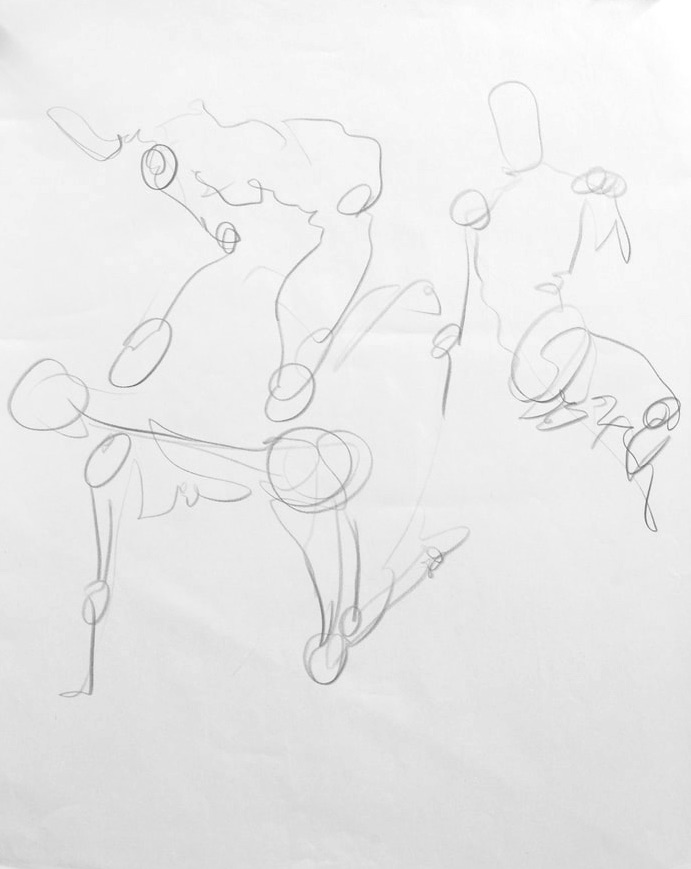
Student work
Breaking the body down into moving parts is essential to learning how to draw a body in movement. The head, chest, and hips act as the base structure of the body and perform independently. They are depicted as simple shapes (circles or ovals) that are connected by vertical lines (spine and neck) that express twists and turns. Limbs extend from pivotal points and the joints (elbows, knees, wrists, ankles) are shown as circles. These first steps to constructing a body enables the artist to quickly record movement, find the centre of gravity, and it allows the artist to work out the mechanics of any given pose, eg. foreshortening, or placement of hands and feet. The next steps are to add the contour lines that illustrate the muscle and skin, and finally, detail can be added.
|

|
|
|
|

|
CONTINUOUS LINE DRAWINGS
|

|
Student work
This exercise is a great way to bridge the act of seeing a three dimensional subject and drawing the subject. The student gives substance to the pencil line by building and wrapping it around the two dimension drawing. It also teaches mass and volume. Without lifting the pencil off the paper, the student begins with a gesture drawing for the base and continues to wrap the line around and around, building up layers, until the drawing resembles the roundness of form.
|
|

|
|
Blind Contour Drawing
Students love this lesson because it frees them up to draw without worrying about what the end product looks like, in fact, the funnier the drawing, the funner the lesson. Without looking at their paper, the students eyes continuously trace the contour lines of their subject (model). The more times this lesson is repeated, the more information the eye picks up. It trains the student to unintentionally observe the linear shape of a body, how lines intersect, how limbs connect, etc.
|

|
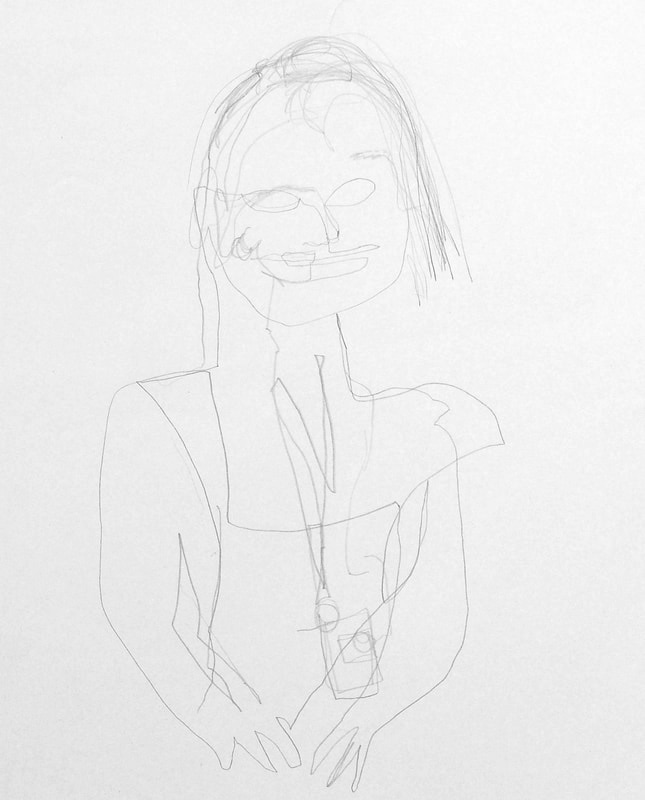
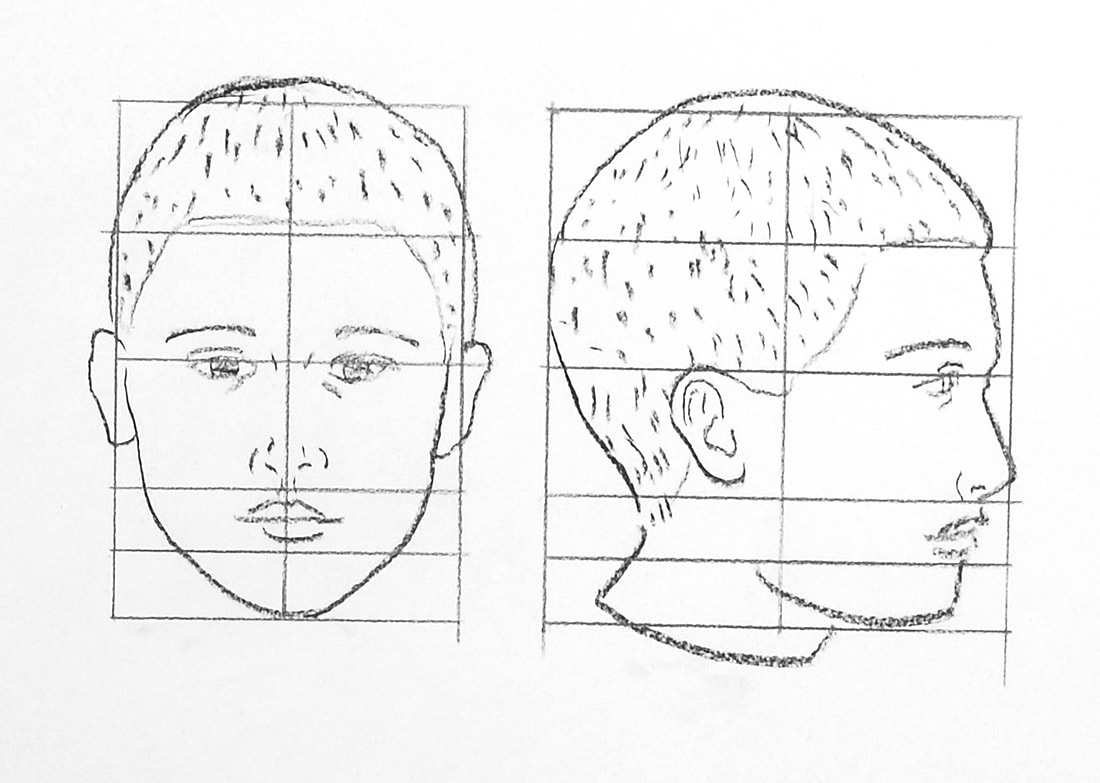
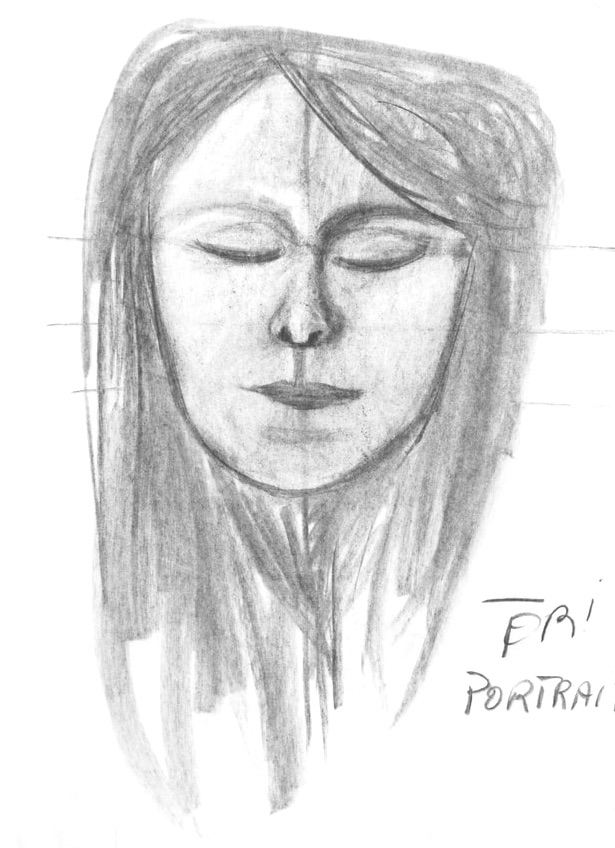
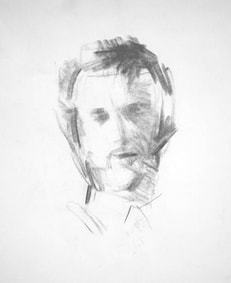
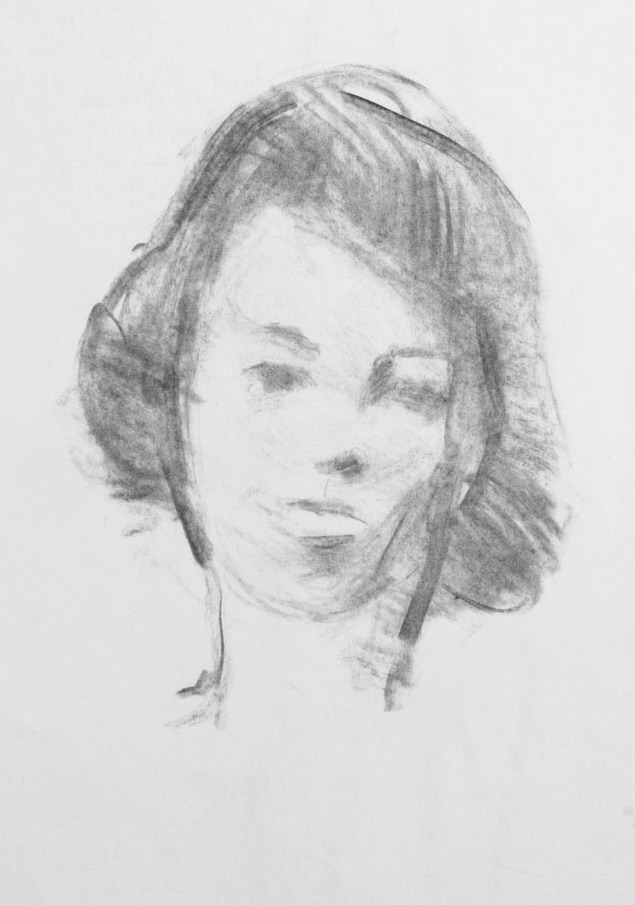
HEAD
|
|
Student Work
I have found that most students move fluidly, even have fun, through all the warm up exercises and dive right into drawing skeletal body stucture and form, but as soon as the head and face are introduced, the mood changes. Students slow down and become serious, most think they'll fail. From my own experience, I think it's because faces contain so much detail and information, including expressive emotions, which distinguishes us as individuals. It's harder to objectify a face than a body. I try to stress the need for students to treat the head and face no differently than the body, in other words, it is made up of forms and structure that can be broken down into shapes and shadows that fit together. Students begin by learning the basic rules of placement of features, and most importantly, how to create the illusion of three dimensionality by using shadow and line.
|

|

|
|

|
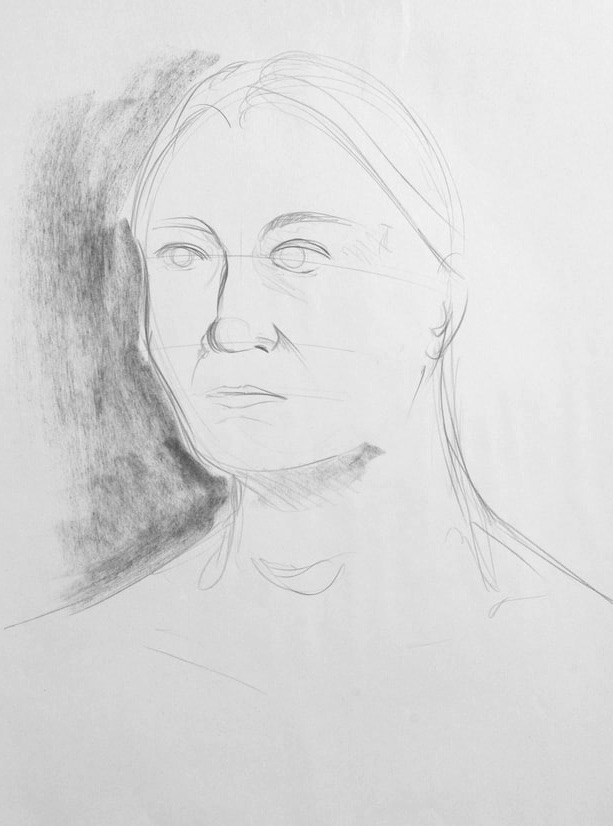
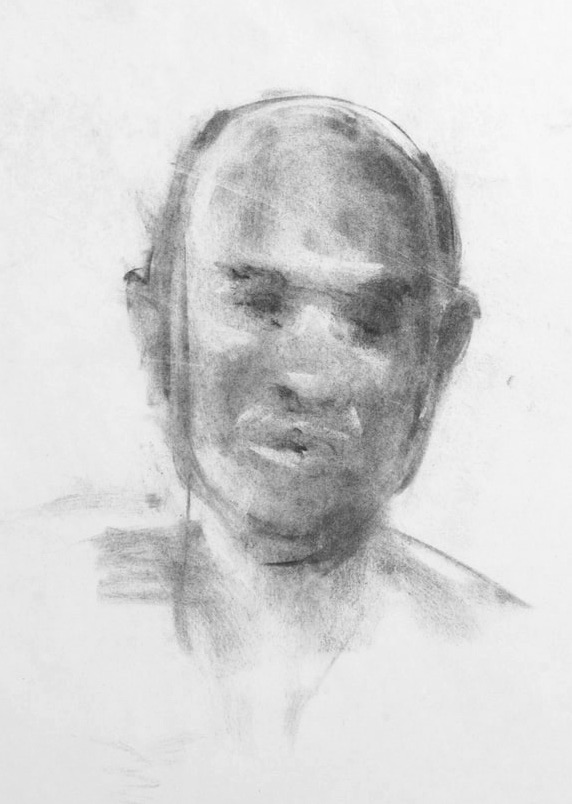
USING SHADOW TO CREATE FORM
Student Work
When a student has difficulty drawing a nose, I tell them to draw the shadow and the nose will take care of itself. Anywhere you have a protuding muscle, bone, or cartiledge, you will find either a shadow or a reflection that will define the shape. The student was instructed to shade only, especially around the eyes, nose, and mouth. A few took the next step, which was to lift off reflections using their eraser. We also used it for full body drawings.

|
|
|
|
|
|
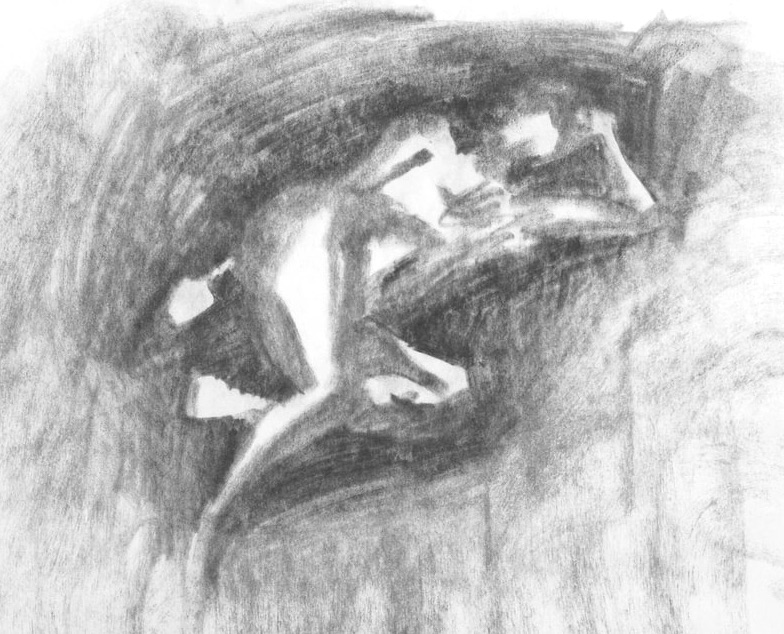
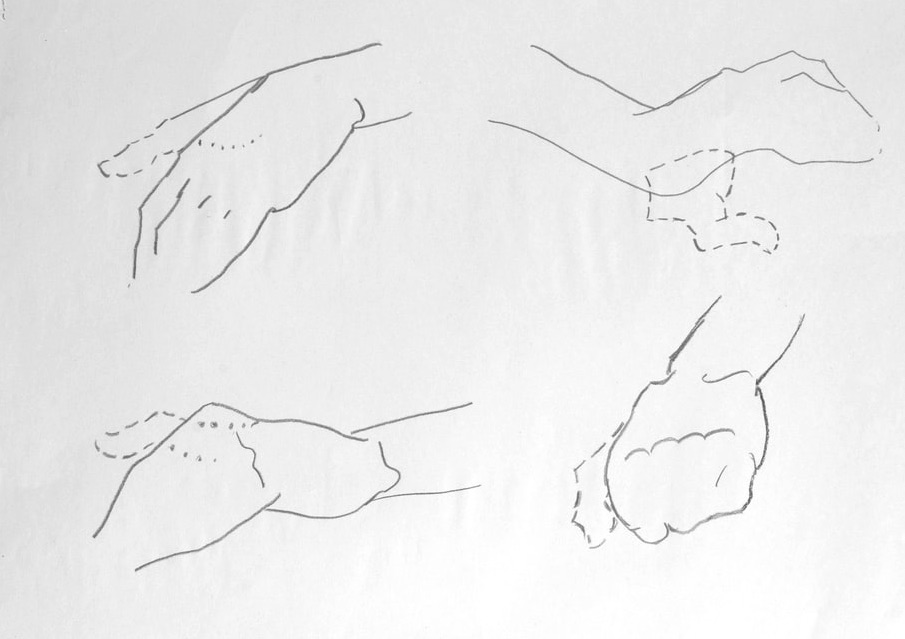
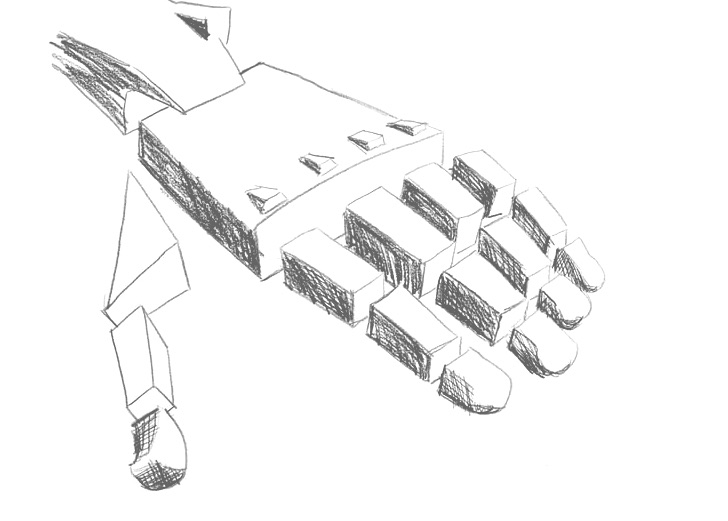
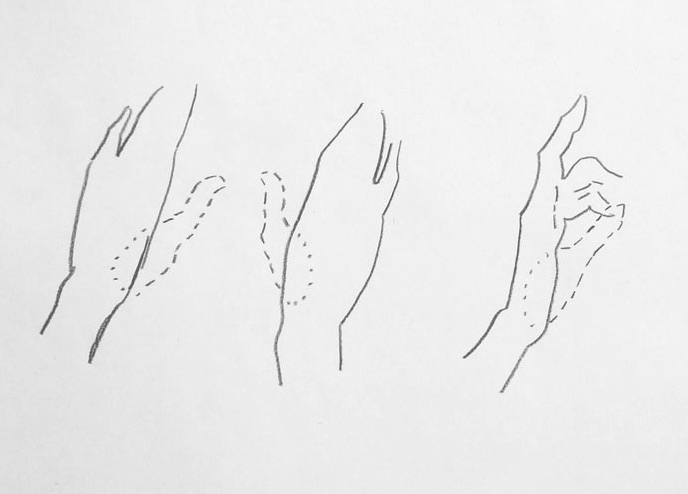
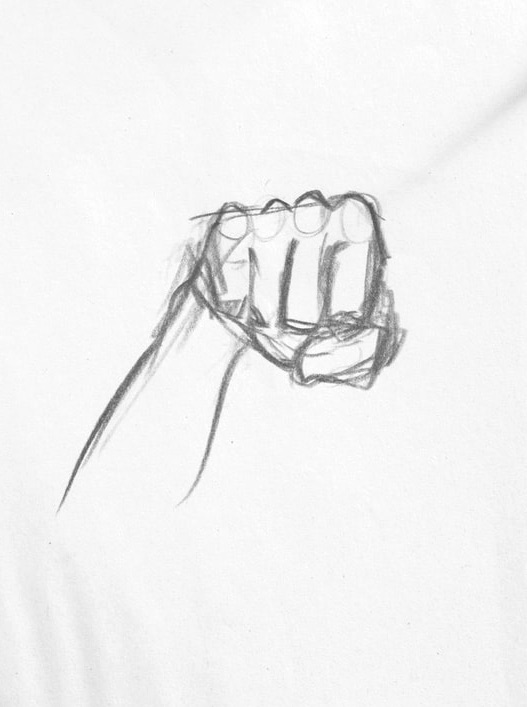
HANDS
I tell my students hands and feet are a necessary evil when it comes to drawing and painting people. The best way around it, therefore, is simply repetition and practice. We concentrated on hands and spent a lot of time breaking them down into shapes before refining them.
|
|
|

|
|
NEGATIVE SPACE

|

|
